GPF User Management
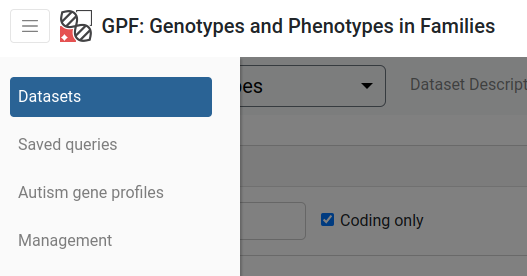
All options concerning User Management can only be found by admin users in the Management tab from the upper left corner menu
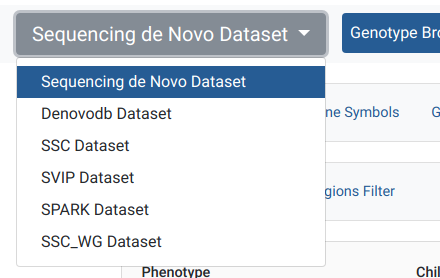
Open sidebar menu.
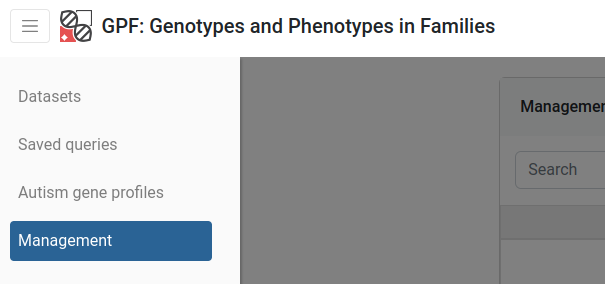
Open Management page.
Users
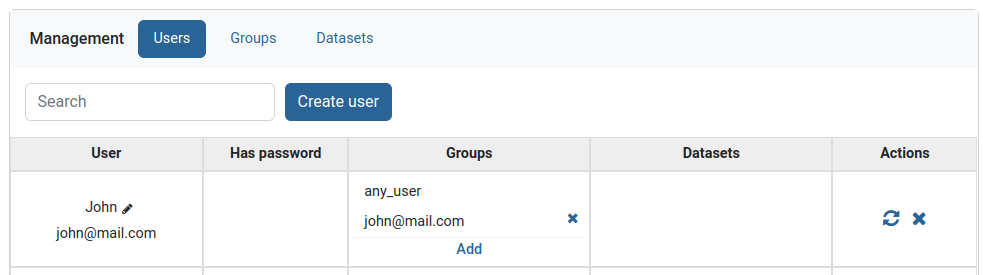
Interacting with users is achieved via the Users category in the Management tab from the menu. Every user is represented by a row on the table shown in the Users category.
How to create a new user?
Above users management table click on Create user.

Enter name and email of the new user, then click Create.


The new user will show on top of the users table ready to be edited further.
Note
- To login with the new user a password must be set. This could be accomplished from:
The login interface by clicking on Forgotten password.
The Users Management table by clicking on a user’s Reset password button.
How to specify permissions for a given user?
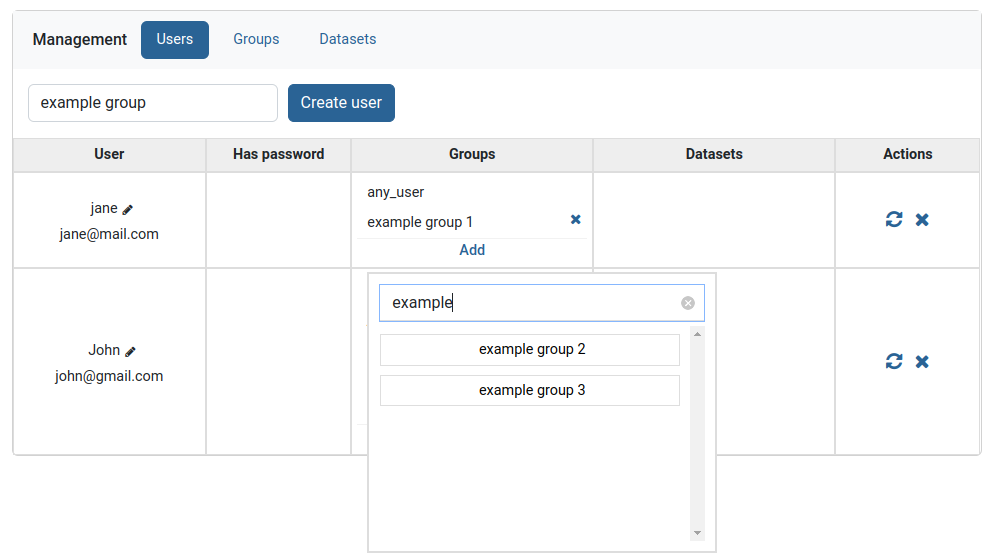
Find the user then click on the Add button in the Groups column
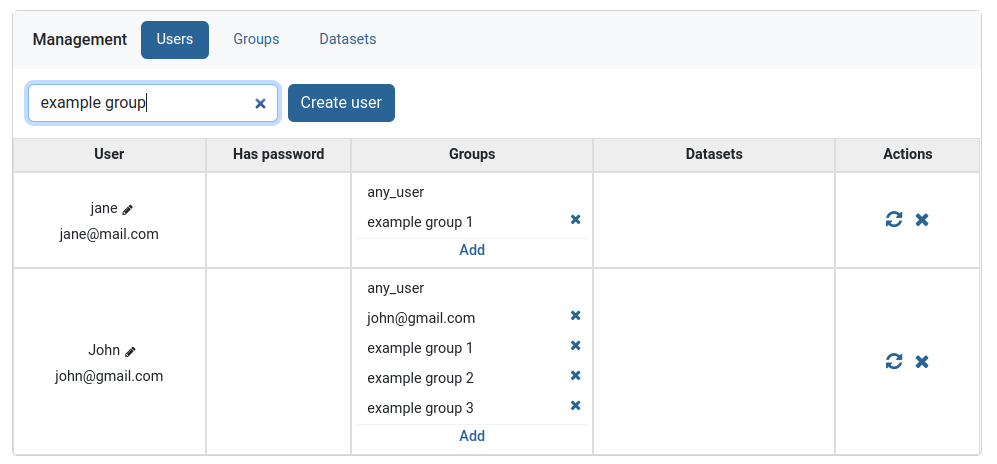
A small menu will appear, that lists all unadded groups. Search the group and click on it.
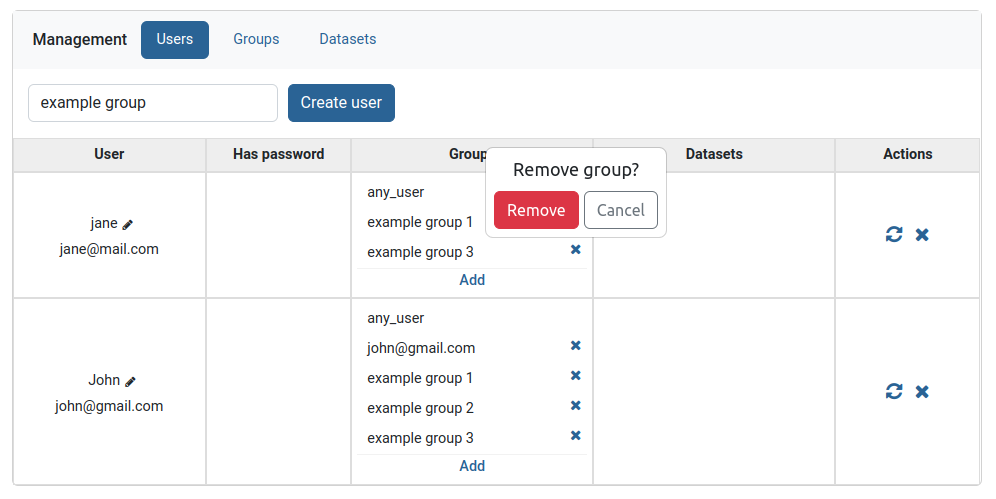
The group will now appear in the list of groups in the Groups column. To now remove it click on the small x button to the right of the group and then confirm removal.
Reset password
Clicking on the left icon in the Actions column, resets the password of the user shown on the current row. This button will send the user in question an email with a corresponding link, obligating them to choose a new password for their account.

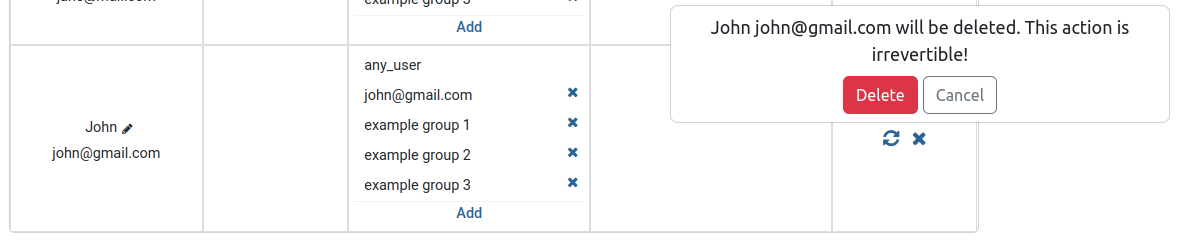
Delete user
Clicking on the utmost right X button in the Actions column, deletes the user shown on the current row.
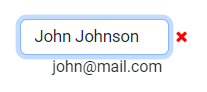
Edit user name
Clicking on the pencil icon in the User column, allows editing the name of the user shown on the current row.
Input field will show showing the current user name.
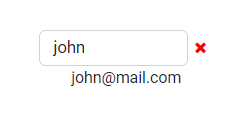
Change it to something else (cannot use empty names or names that are too short) and press enter.
Groups
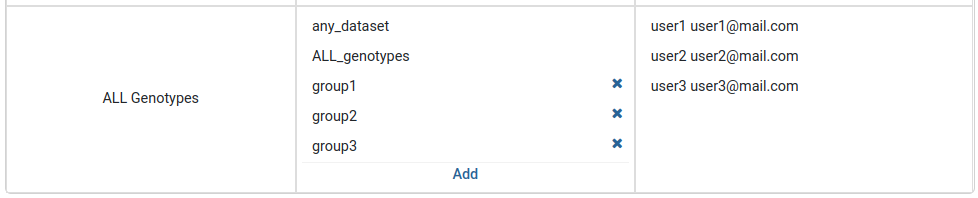
Groups are entities that associate users with datasets. If a user wishes to access a certain dataset, he has to belong to a group containing that dataset. Users and datasets can be in multiple groups simultaneously. The easiest way to add multiple users and datasets to a group is through the groups table view.
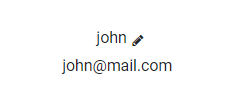
When a new user or dataset is created, they are automatically assigned to groups with their corresponding names.
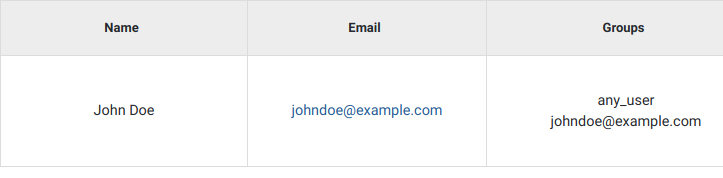
Example of newly added user
Special Groups
Admin
Users assigned to the admin group, have all permissions. Only admin users can view or interact with other users, groups or datasets.
Anonymous
anonymous@seqpipe.org is a group that all unregistered users belong to. They lack permissions for accessing most of the datasets. Inaccessible datasets are shown in grey color.
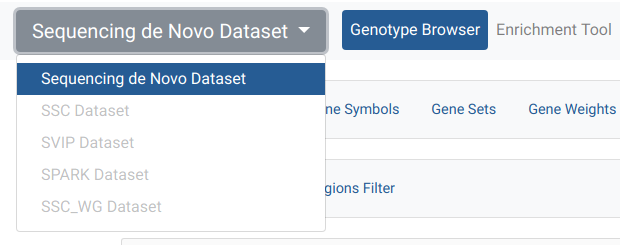
Example of a dataset accessible to all users
Any user
Certain datasets are visible to every registered user. They belong to the any_user group which is automatically assigned to every account and cannot be removed.
Any dataset
any_dataset is a group that contains all of the available datasets. Admins are usually subscribed to this group.
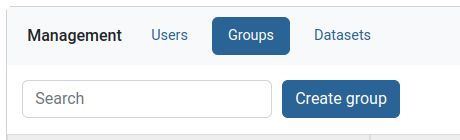
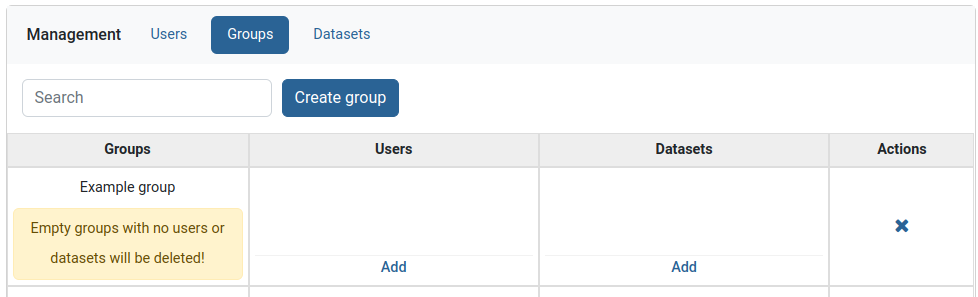
Creating group
In the Groups tab on the Management menu, above groups management table click on Create group.
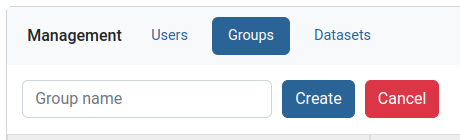
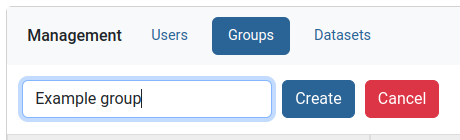
Type the new group name and press create.
To finish group creation you need to add at least one user or one dataset to the group, because empty groups cannot exist.
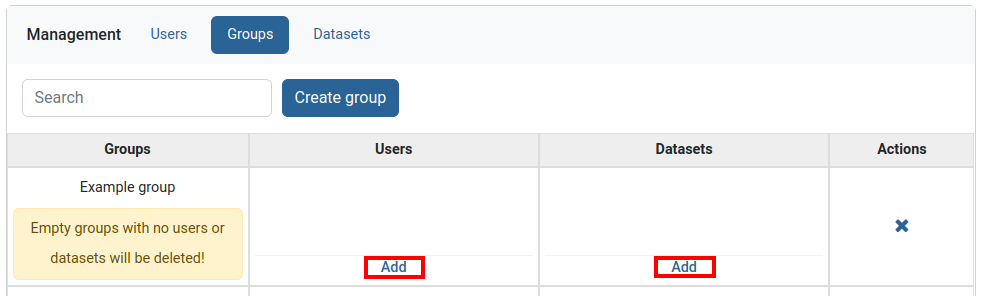
Adding users and dataset to group
Find the group you want to edit then add users and datasets through the Add buttons in users and datasets columns.
Dataset access
In the Datasets tab on the Management menu, admins can observe information about which users have access to a dataset or which groups does a dataset belong to. The easiest way to add a dataset to multiple groups is through the Datasets table view.
Adding group to a dataset
Find the dataset you want to edit then add groups through the Add button in group column.